

Hartley TS16
|
||
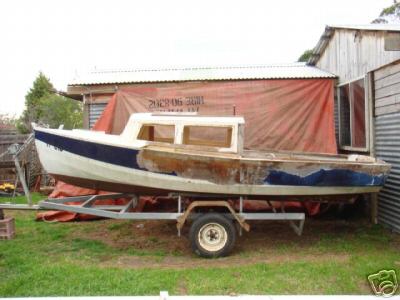
Late 2007 saw the purchase of a Hartley TS16 with a registration number of TP215 on the bow and 583 on a set of sails made in Hobart (if you know of or owned this boat please contact me here) to replace the 125 that had been filling the garage for the last 3 years. Like the 125, the Hartley was a TLC boat. Purchased from eBay for a minimal fee it resembled an irrigation system more than it did a boat. The current owner had bought it with the intention of doing it up with his sons but like all good plans it was shelved as his sons got older and lost interest in sailing. Work had commenced on the Hartley with some of the fibre glass having been removed, one side of the back of the cabin had been removed, as well as all flooring and seats. Basically it was a husk of it's former glory. Originally it had been built as a bilge keel (later confirmed as never an option for the TS16 although a few were built this way), but work had commenced to rectify this and convert it to a swing keel in that the old keels had been removed. The design and poor condition of the trailer had left the boat resting heavily on the runners causing the hull to bow up at the 4th rib. This wasn't helped by the fact that the 4th rib was to a large extent, not there. The current owner had attempted to rectify this with the use of a large carfully cut piece of redgum. Unfortunately this hadn't made much difference. Finally, the boat had been sitting outside for some time. Although it was under a tarp, a quantity of rain water had still managed to pool in the hull. Inevitably this had resulted in the appearance of some rot. At this stage it was still reasonably minor and treatable. |
 |
|
 |
||
The potential was spotted and the purchase was made. The boat was made secure and towed back to Melbourne. First task after getting the garage door closed behind it, was to dry it out and remove all the lose bits from inside. Once dried out, a couple of 45C days really did the trick, it was time to get on hands and knees with scraper and vaccum to remove the build up of dirt grime and rot. It was then left to dry a few more days and then soaked where ever rot had been found with anti freeze. Yep you guessed it... left to dry out again. Then life got in the way and I didn't do any more work on it until 2008, so it got really really dry. |
||
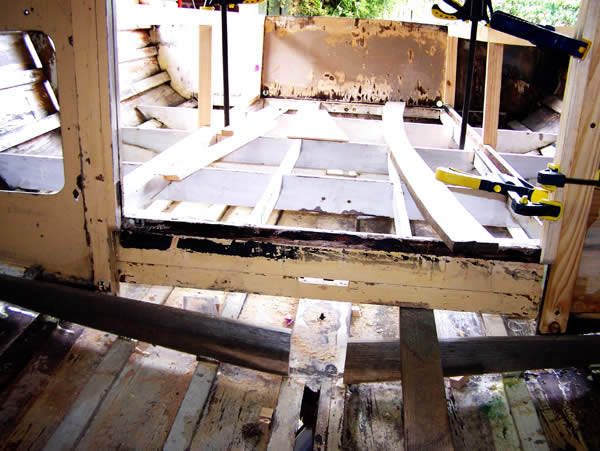
The next stage commences. With a couple of weeks leave from work I managed to find some time to get a bit more done on the boat. Now that everthing was stablized and dry and wood rot was removed, it was time for a liberal few coats of Everdure over the entire inside of the hull, and yes, left to dry. It was time to attack the redgum and the 4th Rib. A few good solid hits with the ultimate problem solver... a big hammer, had the redgum removed leaving the way clear to start rebuilding. A couple of timbers where cut to shape and screwed to what remains of the rib toward the sides of the boat. Then a lovely principle called leverage was applied pushing the hull back into place. The new supports were fixed in place with some polyurethane adhesive and clamped in place overnight. As you can see from the picture, a new slot for the centre case has been started, not easy going so I'm attacking that one a bit at a time. |
 |
|
| The rear starboard corner of the cabin was not in a great state due to rot, but it had not travelled far. This was removed, and the remaining timber now treated with Everdure. The largest area effected was filled in with a piece of ply and all remaining gaps then filled with builder's bog and sanded back ready for glassing. | 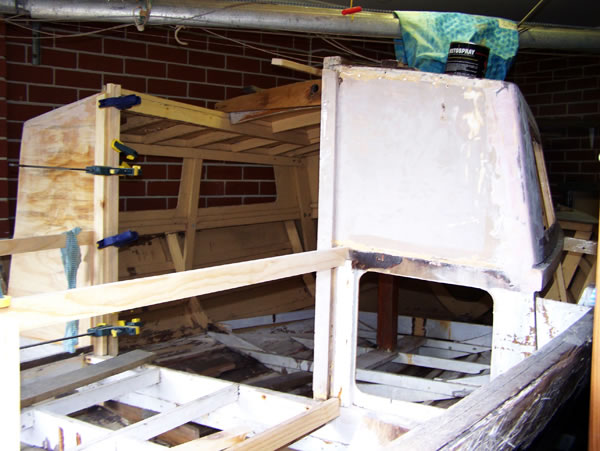 |
|
| The rear port side of the cabin needed to be completely rebuilt including the hatchway upright and about 200mm of the side. The hatchway upright is a lamination of 4 pieces of timber with a 6mm slot the length of one to accomodate the splash boards. Another job for the trusty old router, I don't get to use it that often, but it certainly is worth the outlay for the few times I do use it. Ply for the back and side where measured and cut with the gap between old and new being filled with builder's bog and then sanded back with the corners nicely rounded ready for glassing. | 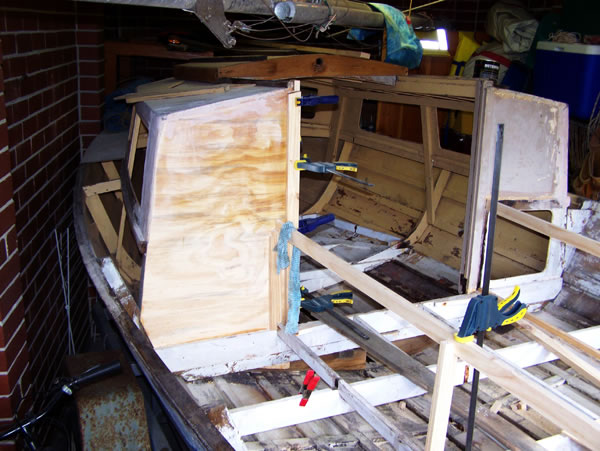 |
|
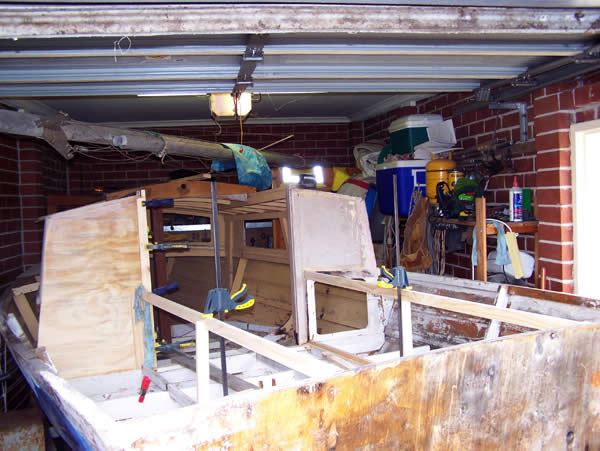
The only part of the cockpit area left was the frame for the floor. The seats had been completely removed and a couple of the timbers still remaining were in such a state that I needed to remove them before I could start rebuilding the cockpit. The bottom plate for the starboard seat side wall had been split down its length in such a way that it looked as though a chisel had played a big part in removing the floor and removal started here. Of coarse, what was left needed to be removed also, but without damaging any of the timbers around it. To do this I cut the timber into multiple sections with a jigsaw and then attacked each section with a chisel, resulting in a very clean removal. Timbers running the length of the cockpit, fixed at gunnel hieght about 200mm in from the side with silicon and screws was not to the standard I was after. So these were promptly removed. Any old screws and filler or adhessive that was evident in the cockpit area was also removed to make the cockpit as clean as possible. The beginnings of the cockpit are now in place waiting for the glue to cure. You can never have to many clamps. |
 |
|
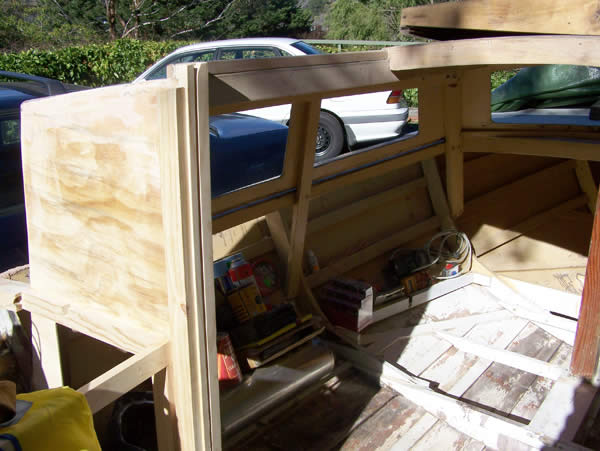
You may have noticed a change of background in the photo, yes we have moved and the new place has no garage, but on the plus side, it does have good ventilation. And a big tarp keeps it dry when not being worked on. Well the port side aft cabin wall is back in place and prepared for glassing. An access hole has been cut in for below seat storage, as is existing on the starboard side. The basic framework for cockpit seats are now in place on both sides. |
 |
|
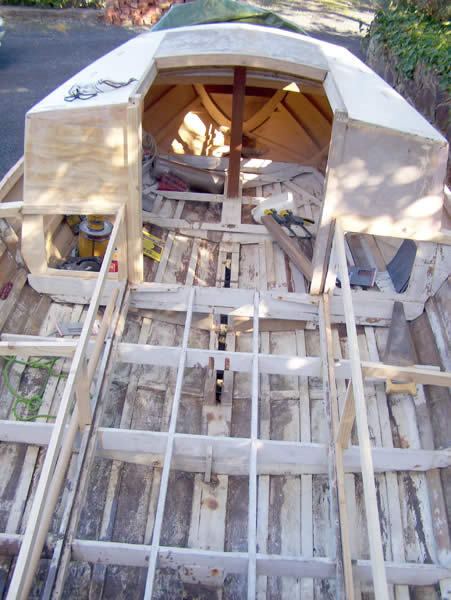
Here it can be seen that the cabin is looking much closer to the way it was intended to be. The basic framework for the cockpit seats can also be seen. The slot in the floor is now cut through for the full length almost ready to accept the centre case, just some rasping and sanding required. A chainsaw would have been very handy for this task, but with the help of a jigsaw, an angle grinder with a saw blade and lots of patience a satisfactory result was achieved. |
 |
|
| Inside the cabin at this stage is bare bones. The framework for the beds were not suitable for the centre keel setup, and were therefore removed. | 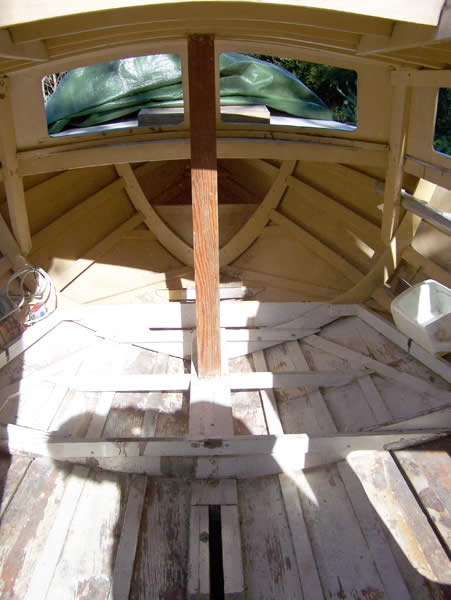 |
|